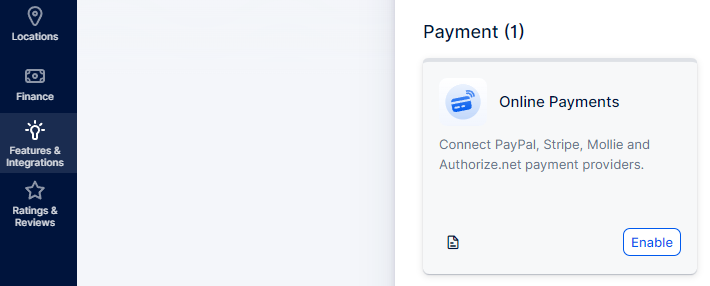
Payment Settings allow you to configure the fundamental settings for your upcoming transactions. Before using online payment methods, you must enable the Online Payments feature on the Features & Integrations page.
The Online Payments feature for Timely is considered a premium feature, and it will be counted towards your total number of Custom Features & Integrations.
After the feature has been enabled, you will see all available online payment methods.
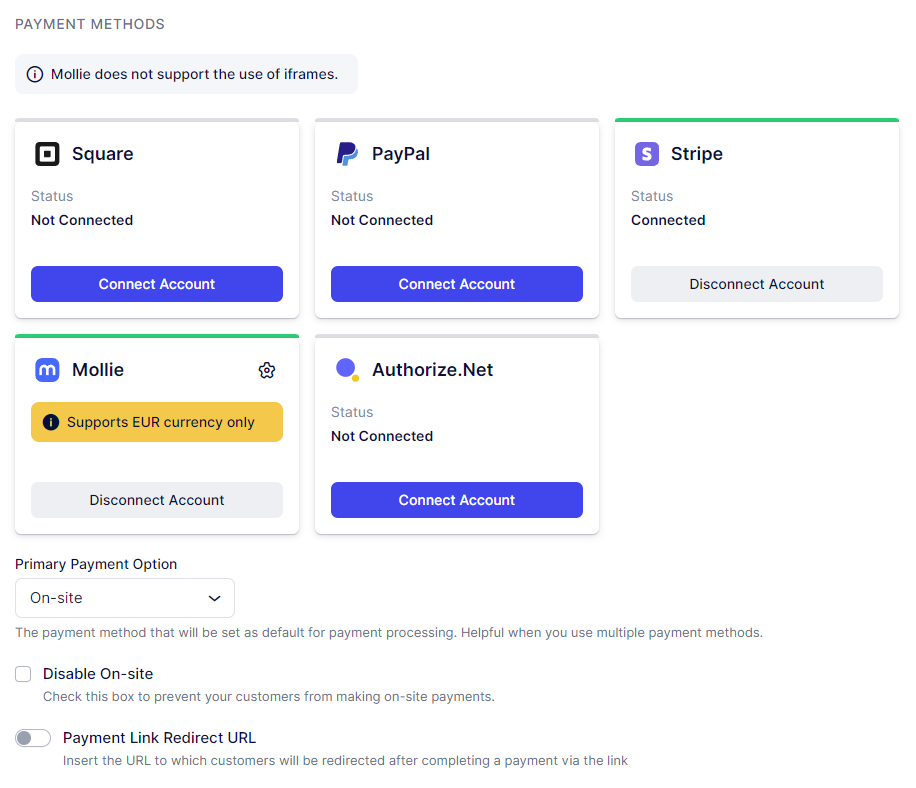
Once at least one online payment method is enabled, you will be able to:
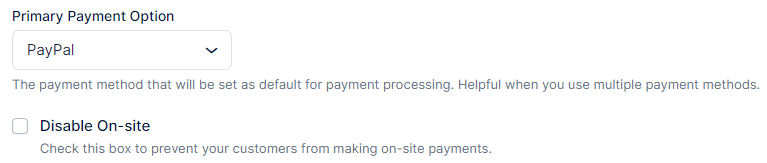
- Change the Primary Payment option (which is set to On-Site by default);
- Disable the On-Site payment method, so no one can book without paying;
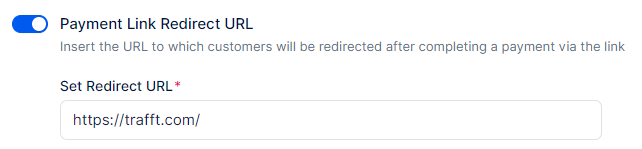
- Enable and configure the Payment Link Redirect URL - this option works along with the Payment via Link feature, so if you configured it, the customers will be redirected to the URL defined in here after they pay via link.
To read more about Payment via Link, please click here.
To connect your Square account, navigate to Features & Integrations and find the Online Payments section. Click "Set Up," then select "Connect Account" on the Square card. You'll be redirected to the Square login page to sign in.
Square will show you the required permissions Trafft, who created the integration, requires in order to use this payment method.
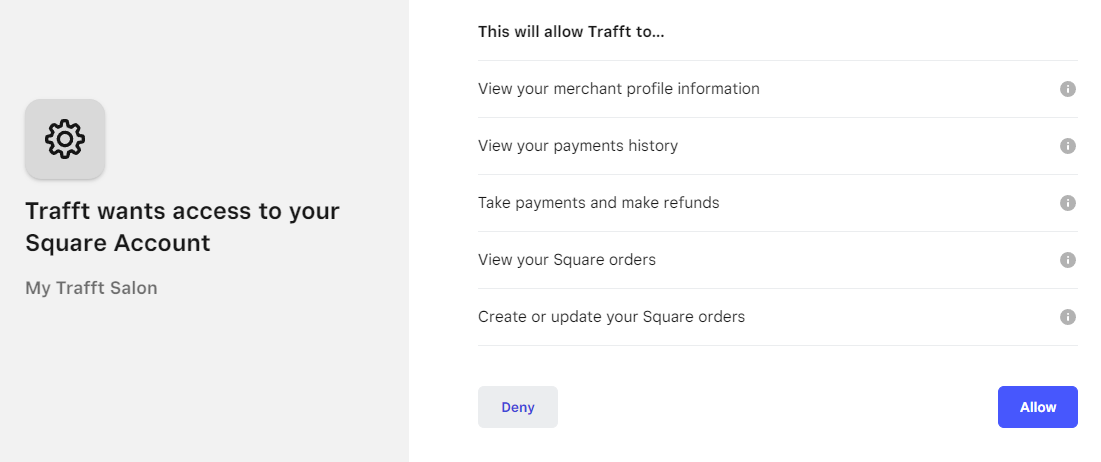
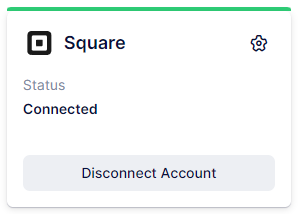
You need to click on "Allow" in order for the integration to properly work. Once you do that, you'll be returned to the Timely page, where the Square card will be updated with the option to "Disconnect Account". This means that your Square account is properly connected to Timely.
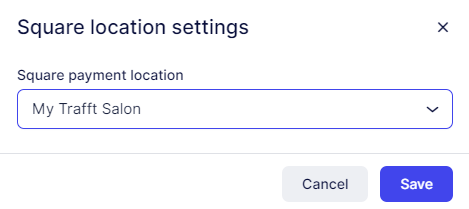
If your Square account is configured for multiple locations, you need to click on the gear icon ( ⚙️ ) in the top right of the Square card and the "Square Location Settings" popup will appear.
Choose the default location that will be used for all your Square payments. Keep in mind that since different locations can have different currencies, and Timely currently supports only one currency, you can only select one location. Once you have selected your default location, click “Save” in the popup to confirm your choice.
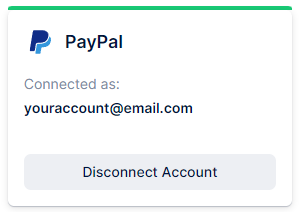
To link your PayPal account, go to Features & Integrations, and locate the Online Payments section. Click on "Set Up" and then click on the "Connect Account" button in the PayPal card. This will redirect you to the PayPal login page, where you can log in to your account. Once logged in, you will be returned to the Timely page, where a confirmation of the established connection will be displayed, indicating your email.
Note: This integration is only possible with verified business PayPal accounts.
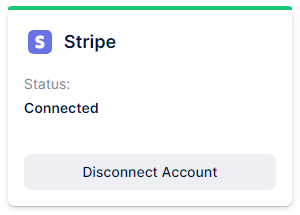
Likewise, to establish a connection with your Stripe account, you must first navigate to Features & Integrations and access the Online Payments section by clicking the "Set Up" button. Then, under Stripe, click the "Connect Account" button. This action will direct you to Stripe’s Sign-in page, where you can log in to your account. After successfully logging in, you will be automatically redirected back to the Timely page, confirming that the connection has been established
Available payment methods via Stripe
Stripe supports a wide range of payment methods depending on your country, currency, and business type. Some of the most popular ones include:
- Credit and debit cards (Visa, Mastercard, American Express, etc.)
- Apple Pay & Google Pay
- Klarna – Pay later and installment options
- SEPA Direct Debit – For customers in the EU
- Bancontact, iDEAL, EPS – Popular local methods in Europe
- Alipay & WeChat Pay – For customers in China
To check the full list of supported payment methods based on your country, currency, and use case, visit Stripe's official guide here.
Note: This integration is only possible with verified business Stripe accounts.
To link your Mollie payments account, proceed to Features & Integrations, and locate the Online Payments section. Click on the "Set Up" button and then on the "Connect Account" button next to the Mollie Payment option.
This action will redirect you to log in to your Mollie account, where you can connect and authorize website profiles and payment methods. Within your Mollie account, you can access transaction details, refunds, chargebacks, set permissions, and configure a payment page design. To seamlessly integrate your Timely and Mollie accounts for payment acceptance, ensure you have at least one website profile and an active payment method configured in your Mollie account. On the Online Payments page in Timely, under Mollie integration, select the desired Website profile to connect with Timely.
Note: To establish a connection with Mollie, it is essential to configure the currency in Timely to Euro. This is necessary as the Euro is the only supported currency across all payment profiles in Mollie.
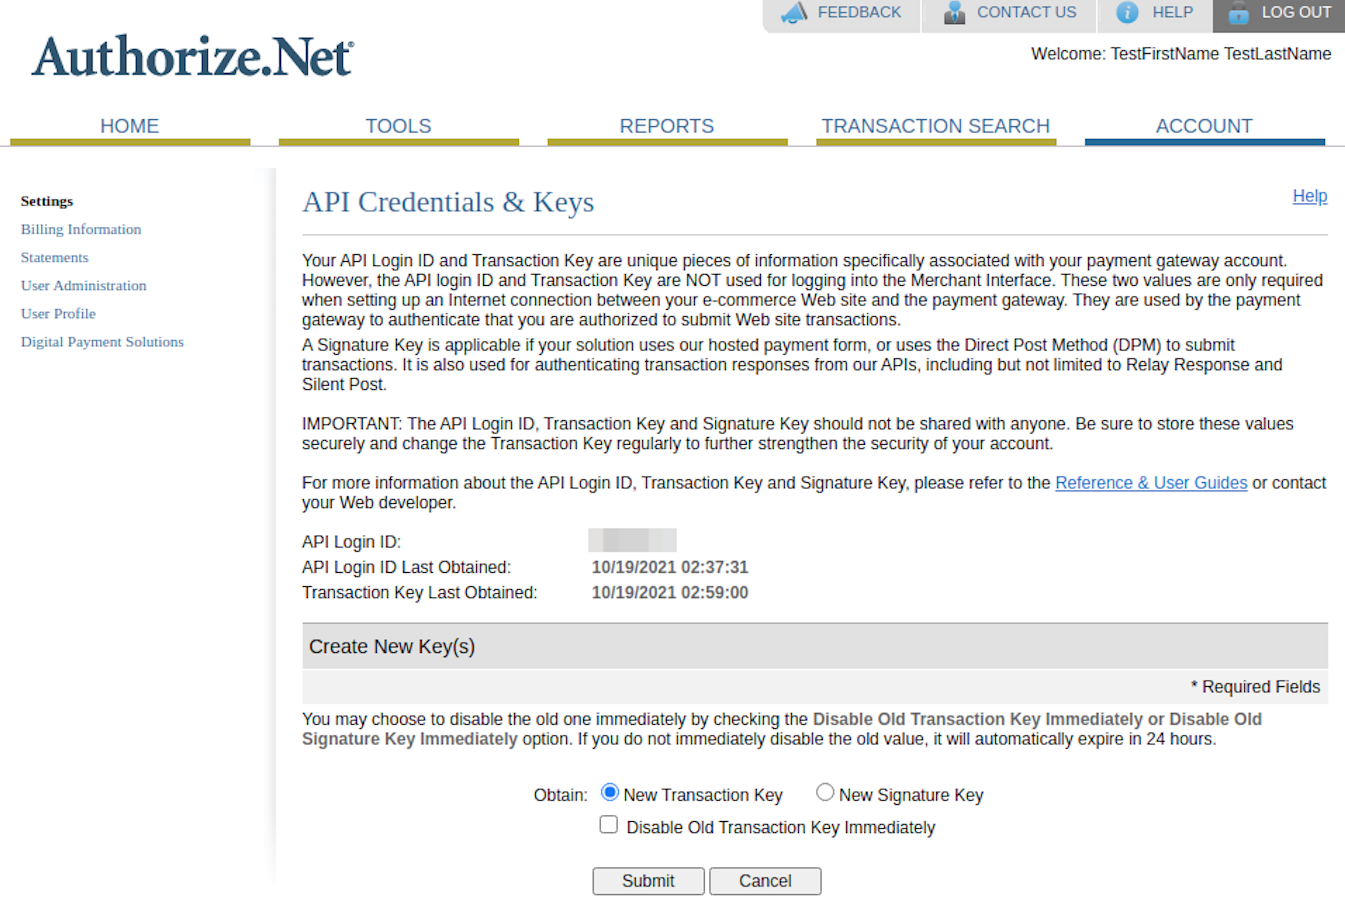
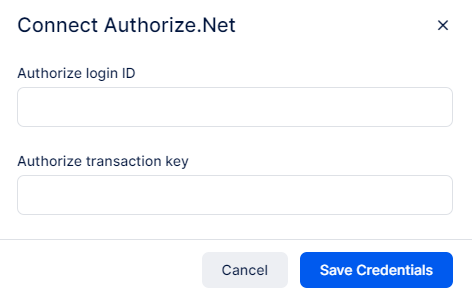
Presently, the final payment method available in Timely is Authorize.net. To establish this connection, you must input your "Authorize login ID" and "Authorize transaction key." Retrieve these details by logging into your Authorize.net account and navigating to API Credentials and Keys in Account settings. There, you will find the API Login ID, which you can copy as the "Authorize login ID." For the transaction key, select the "New Transaction Key" option, submit, and follow the prompts to verify your email address. Once verified, the "Current Transaction Key" will be generated, which you can copy as the "Authorize transaction key."
After entering the necessary credentials, be sure to select the "Save Credentials" option. Subsequently, your customers will have the option to make credit card payments through Authorize.Net
This completes the connection between Timely and Authorize.Net.
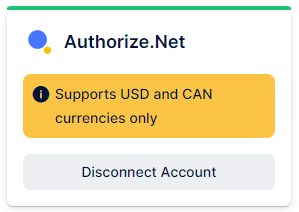
Note: To establish a connection with Authorize.Net, it is essential to configure the currency in Timely to either USD or CAN. This is necessary as these two currencies are the only supported currencies across all payment profiles in Authorize.Net.
After successfully connecting to at least one online payment method, you have the option to disable on-site payment by checking the checkbox next to "Disable payment on-site."
Upon completing the configuration of your payment settings, click on "Save Settings." Additionally, you can choose your preferred Primary Payment method from the dropdown menu to set it as the default.
Once Online Payments are enabled and connected, Timely provides the flexibility to choose the preferred payment method for each service. This option appears when the "Disable payment On-Site" option is enabled.
Within the service settings, you will find the "Payment Method" option, initially set to "All" by default. This setting allows your customers the flexibility to pay either online or on-site. You have the option to configure each service to accept payments exclusively online, or on-site, or maintain both options simultaneously.
If you are using a payment link to gather payments from your customers, you have the option to define the URL to which customers will be redirected after a successful payment.